
Guide
Scan glossy paper, laminated cards and photos without glare
Glare is a light reflected straight into the camera. Turn the scanner’s flash off, then move the light source to the side so it hits the page at an angle, not from above you. Use soft daylight from a window rather than a ceiling lamp, and tilt the item or the phone a few degrees until the white patch slides off the page. Take laminated cards out of extra sleeves, and check each capture before you keep it.

This page is about shine: the white patch, streak or haze that appears when you scan glossy paper, a laminated card or a photo print. Dark patches are a different problem, covered in getting rid of shadows on scans. For a whole box of family photos, scanning old photos with your iPhone goes further.
Why glossy things glare
Matte paper scatters light in every direction, so it looks evenly lit from any angle. A glossy surface acts more like a mirror: light hits it and bounces off at the same angle on the other side. When the light source, the page and the camera line up, you see the light itself instead of the page.
That’s why glare moves when you move. The goal is simple: put the light where its reflection misses the lens.
The worst offenders:
- The flash. It sits right next to the lens, so its reflection comes straight back.
- A ceiling light above you. You lean over the page, the phone sits parallel, and the lamp reflects into the camera.
- Direct sun. A hard, small light source makes a hard, bright spot.
Set up to stop glare before it starts
- Turn the flash off. In the Notes, Files or Preview scanner, set Flash to off before you capture. Apple’s steps let you adjust Flash and Filters before you scan.
- Light from the side. Place a lamp to one side of the page, low and at an angle, or sit with a window beside you. Light coming in at a slant reflects off to the other side, away from the phone.
- Prefer soft light. Daylight from a window on an overcast day, or a lamp bounced off a white wall, spreads the reflection out so it’s faint instead of blinding.
- Turn off the overhead light if it shows up in the page. A room lit from the side works better than a bright room lit from above.
- Use a dark, matte background. It helps the scanner find the edges and reflects less stray light back onto the item.
Angle the phone or the item
Even with good light, a glossy item often shows a faint sheen somewhere. Fix it with angle, not editing:
- Hold the phone over the item and watch the screen.
- Tilt the item a few degrees, by slipping a folded paper under one edge, or tilt the phone slightly. Watch the bright patch slide toward the edge and off.
- If the scanner won’t capture at an angle, switch to manual capture, tap the shutter, then drag the corners to the item’s corners. The scanner straightens the perspective for you.
A small tilt barely changes the shape, and the corner adjustment takes care of the rest.
The two-shot trick
When a large glossy page has glare you can’t fully remove, take two captures with the light on opposite sides. Each one has a clean half. Keep both and send the one where the important part is clear, or keep both pages in the PDF if every word matters.
Laminated cards and IDs
- Take it out of any extra holder. A wallet sleeve or badge holder adds a second shiny layer.
- Lay it flat. Old lamination bows; hold a corner down with a fingertip placed outside the card.
- Fill the frame. A card is small, so get close enough that it fills most of the screen while the camera can still focus.
- Expect the hologram to shimmer. Security holograms change with angle on purpose. Aim for a capture where the text, photo and numbers are clear and the hologram doesn’t sit over the name or number.
For both sides on one printable page, see scanning both sides of an ID card onto one page.
Photo prints
- Scan out of the album sleeve if the photo comes out safely. If it’s stuck, don’t force it: tilt and take a few tries.
- Clean the print gently with a soft, dry cloth or blower to remove dust that catches the light.
- Use the color filter, not black and white, so the print keeps its tones. Keep the flash off.
- Textured paper (the dimpled “silk” finish on many prints) scatters light into a fine sparkle. Softer, more angled light helps most.
Fixing a little glare afterward
If a capture has a mild bright area and you can’t rescan, open the image in Photos, tap the edit button, tap Adjust, and lower Highlights, as Apple’s editing guide describes. Tap to compare with the original. This calms a soft sheen. It can’t recover text or detail from a patch that came out pure white, so a rescan is still the real fix.
Where Scanner One helps, and where it doesn’t
Scanner One finds the edges of the page automatically and corrects the perspective. That’s what makes the slight-tilt trick work: you can angle the item to dodge the reflection and still get a straight page. Scans come with Auto Clean, Color, Grayscale and Receipt filters.
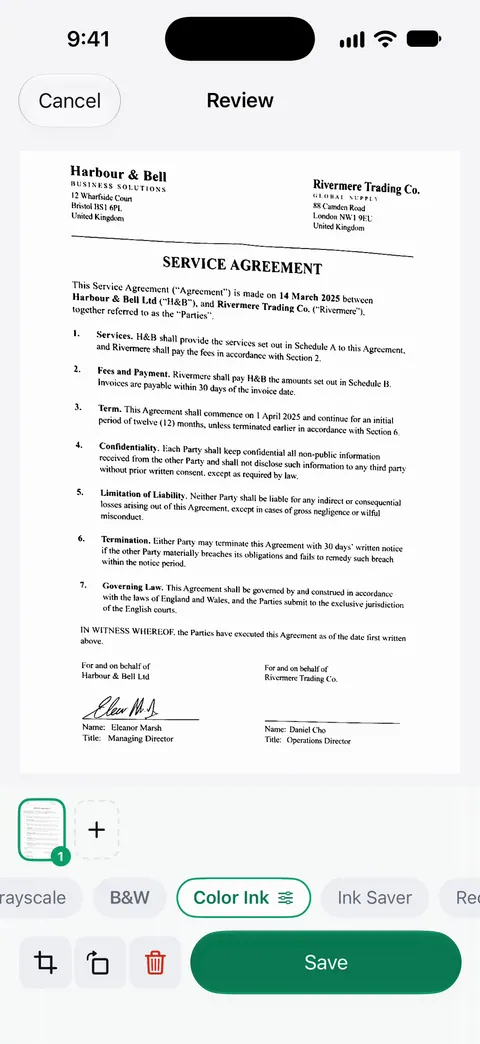
ID cards and passports are scanned with both sides on one printable page. If you use its flashlight while aiming, turn it off for glossy items, for the same reason as the flash. More on the camera is on the scanning page.
What it doesn’t do: no scanner app removes glare that’s already burned into the image. Light from the side and a small tilt are the fix in every app, Scanner One included.
When the built-in way is enough: Notes or Files with the flash off and a window beside you handle most glossy pages and cards. Scanning is free in Scanner One too: Scanner One is free, with generous limits: scanning, clean PDFs and text search never stop. See ID cards and passports for the card layout.
Questions and answers
Should I use the flash to scan a photo?
No. On glossy prints and laminated cards, the flash bounces straight back into the lens and leaves a white spot. Turn it off and use window light or a lamp placed to one side.
How do I scan a laminated ID without glare?
Lay it on a dark, matte surface, turn the flash off, and put the light to one side. Tilt the card slightly until the shine slides off, then capture. Remove any extra plastic holder first. The hologram may still shimmer; that’s a security feature and is normal.
Can I remove glare after I scan?
Only partly. In Photos you can lower Highlights to calm a bright area, but a patch that came out pure white holds no detail to bring back. Rescanning at a different angle is quicker and better.
Why does a photo in an album sleeve look so bad?
The plastic sleeve adds a second shiny layer, often wavy, that reflects light from every angle. If the photo comes out safely, scan it out of the sleeve; if not, tilt carefully and take a couple of tries.
Sources
What this page says about Scanner One was checked against the app on .
- iPhone User Guide (iOS 27), Scan text and documents in Notes — adjust settings such as Flash or Filters before capture; manual capture with corner adjustment; read 2026-11-13
- Apple Support, How to scan documents on your iPhone or iPad (article 108963) — in iOS 26 you can choose flash or an image filter while scanning; published 2026-02-13
- iPhone User Guide (iOS 27), Edit photos and videos — Adjust settings such as Exposure, Brilliance and Highlights; compare with the original; read 2026-11-13
- iPhone User Guide (iOS 27), Take great photos and videos — adjust Flash and Exposure from the camera controls; read 2026-11-13
- Scanner One on the App Store — the app’s own listing
Get Scanner One
Scanner One is free, with generous limits: scanning, clean PDFs and text search never stop.

Scanner OneScan, sign and ask anything
Scanner One is free, with generous limits: scanning, clean PDFs and text search never stop.