
Guide
Scan a passport for an online visa application
Read the portal’s instructions first. Most want a color copy of the photo page with the whole page visible, including the 2 machine-readable lines at the bottom, and some also want every page with stamps or visas. Turn the flash off, lay the passport flat, scan with Scan Documents in Preview using manual capture, and keep it in color. Save the pages the portal asks for in one PDF, named clearly, under its size limit, and check it before you submit.

This page is about meeting a visa portal’s upload rules with a passport scan. If you want to know where to keep a passport copy on your iPhone and who can see it, see scanning a passport photo page, which covers storage and locking.
This is general information, not immigration advice. Every country and every visa type sets its own document rules, and they change. The instructions inside your application are the ones that count.
Read the portal’s instructions first
Visa portals differ, and the differences decide whether your upload is accepted. Look for:
- Which pages. The photo page always. Canada’s online visa instructions, for example, ask for a colour copy of the page with your photo, date of birth and country, and any pages with stamps, visas or markings.
- File type. The UK accepts PDF, PNG, JPG or JPEG scans; Canada lists TIFF, JPG, PNG, DOC, DOCX and PDF.
- Size limit. Canada’s portals allow 4 MB or 5 MB per file, depending on which portal you use.
- One file or several. Some portals have one slot for the whole passport copy; others want each page separately.
- Last chance. The UK warns that you can’t upload more evidence after you submit, so check the file before you press the button.
Write the rules on a sticky note before you scan. Then you won’t scan twice.
What a reviewer needs to see
On the photo page, all of these should be sharp and fully inside the scan:
- All four edges of the page. The UK’s guidance says the full document must be visible.
- Your photo, with no glare across your face.
- Name, nationality, date of birth, passport number, issue and expiry dates.
- The 2 machine-readable lines at the bottom, the rows of letters, numbers and arrow-like symbols. They hold your passport details in a form machines read, so a copy that cuts them off can be sent back. More in what the MRZ on a passport is.
- Your signature, if your passport has it on or next to the photo page.
Scan the photo page
- Open the passport flat on a dark, plain surface near a window. Hold the facing page down at its outer edge with a fingertip, away from the data.
- Turn the flash off. The UK’s guidance says to turn the flash off for reflective documents such as a laminated passport page.
- Open Preview (iOS 26 and later) and tap Scan Documents.
- Switch to manual capture: tap Auto so it reads Manual. An open booklet confuses automatic capture, which may take both pages.
- Hold the phone straight above the photo page and tap the Shutter button.
- Drag the corners to the corners of the photo page only, and make sure the 2 bottom lines are inside.
- Tap the thumbnail to check the coloring is in color, not black and white.
Add stamp and visa pages, if asked
Stay in the same scan and capture each page with a stamp, visa or marking, in passport order. If you’ve already saved the photo page, open the PDF in Preview, show the thumbnails, touch and hold the last page and tap Scan Pages to add more. Drag pages to fix the order, and rotate any page that came out sideways with Rotate Left or Rotate Right.
Tap the Done button when you’re finished.
Check it like a reviewer would
Open the PDF and zoom in on each page:
- Every character of the passport number and the 2 bottom lines readable.
- No white glare spot on the photo or the data. If there is, tilt the passport slightly away from the window and scan again.
- All four corners inside the frame on every page.
- Color, and no shadow of your hand or phone across the page.
- The pages in the order the portal expects, photo page first.
Name it and fit the size limit
Give the file a name that says what it is, as the UK’s guidance suggests: “Lastname Firstname, passport.pdf”.
If it’s over the limit, compress it rather than switching to black and white. Making a PDF fit a size limit covers the options, and our free upload size checker tells you whether a file will fit. Upload it, wait for the portal to show the file, and open the preview if it offers one.
If your appointment is close, visa appointment next week has a plan for the rest of the papers, and the Canada visitor visa and Schengen visa checklists list what each one asks for.
Where Scanner One helps, and where it doesn’t
Scanner One finds the edges of the page automatically and corrects the perspective. That keeps the photo page square even when the booklet doesn’t lie quite flat. ID cards and passports are scanned with both sides on one printable page. That suits a request for a printed copy, while a visa portal usually wants the pages as they are.
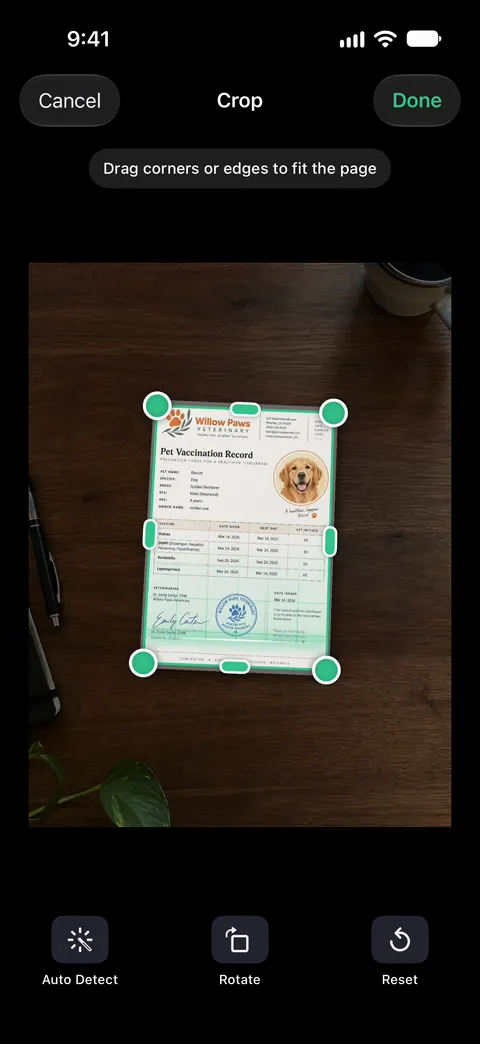
A scan can have many pages, and you can reorder them. So stamp pages can be put in passport order before you upload. The PDF tools merge, split, compress, password-protect, add page numbers and watermarks, and extract text. Compress helps when a color scan is over the portal’s limit. Free accounts can run the PDF tools and the Word, Excel and CSV exports 3 times a week, from one shared allowance.
Before you upload from a free account: On a free account, pages you share, print or export carry a small “Scanned with Scanner One” label at the bottom right. Pro removes it. If you’d rather the passport copy carry nothing extra, export it from Preview, or use Pro. Pro means no ads and no watermark.
What it doesn’t do: it doesn’t check a scan against a country’s rules and it can’t tell you which pages your visa needs. When the built-in way is enough: Preview with manual capture, the flash off and color handles a passport scan for any portal. More in Guides.
Questions and answers
Which passport pages do I need to scan for a visa?
Always the photo page. Some countries also ask for every page with stamps, visas or markings: Canada, for example, asks for a colour copy of the photo page plus those pages. Follow the list in your application.
Can I take a photo of my passport instead of scanning it?
Many portals accept either. The UK’s guidance, for instance, accepts a photo or a scan as long as the full document is visible, the area is well lit and the flash is off for a laminated page. A scanner app gives a flatter, straighter copy.
Why was my passport scan rejected?
The usual reasons are a cut-off edge or missing machine-readable lines, glare over the photo or numbers, a blurry or dark image, black and white when color was asked, or a file over the size limit. Scan again with the flash off and check at full zoom.
My passport scan is too large to upload. What do I do?
Compress the PDF or export it at a smaller size, and keep it in color. Check the limit first: Canada’s portals, for example, allow 4 MB or 5 MB per file depending on the portal.
Should the scan show the whole open passport or just one page?
Usually just the page asked for, with all four edges visible. Read your portal’s instructions: a few ask for the open booklet showing both facing pages.
Sources
What this page says about Scanner One was checked against the app on .
- GOV.UK, Uploading evidence as part of your visa application — full document visible, flash off for a laminated passport page, accepted file types, descriptive file names, no extra evidence after submitting; updated 2022-11-01
- IRCC, Final steps: visa application online — a colour copy of the photo page and any pages with stamps, visas or markings; accepted formats; modified 2020-01-08
- IRCC, Is there a file size limit for documents I upload to my account? — per-file limits of 4 MB or 5 MB depending on the portal; modified 2026-11-03
- iPhone User Guide (iOS 27), Scan text and documents in Preview — Scan Documents, Auto and Manual capture, additional pages, crop and coloring; read 2026-11-13
- iPhone User Guide (iOS 27), Add, delete, rotate, move, or crop PDF pages in Preview — inserting scanned pages, moving and rotating pages; read 2026-11-13
- Scanner One on the App Store — the app’s own listing
Get Scanner One
Scanner One is free, with generous limits: scanning, clean PDFs and text search never stop.

Scanner OneScan, sign and ask anything
Scanner One is free, with generous limits: scanning, clean PDFs and text search never stop.